











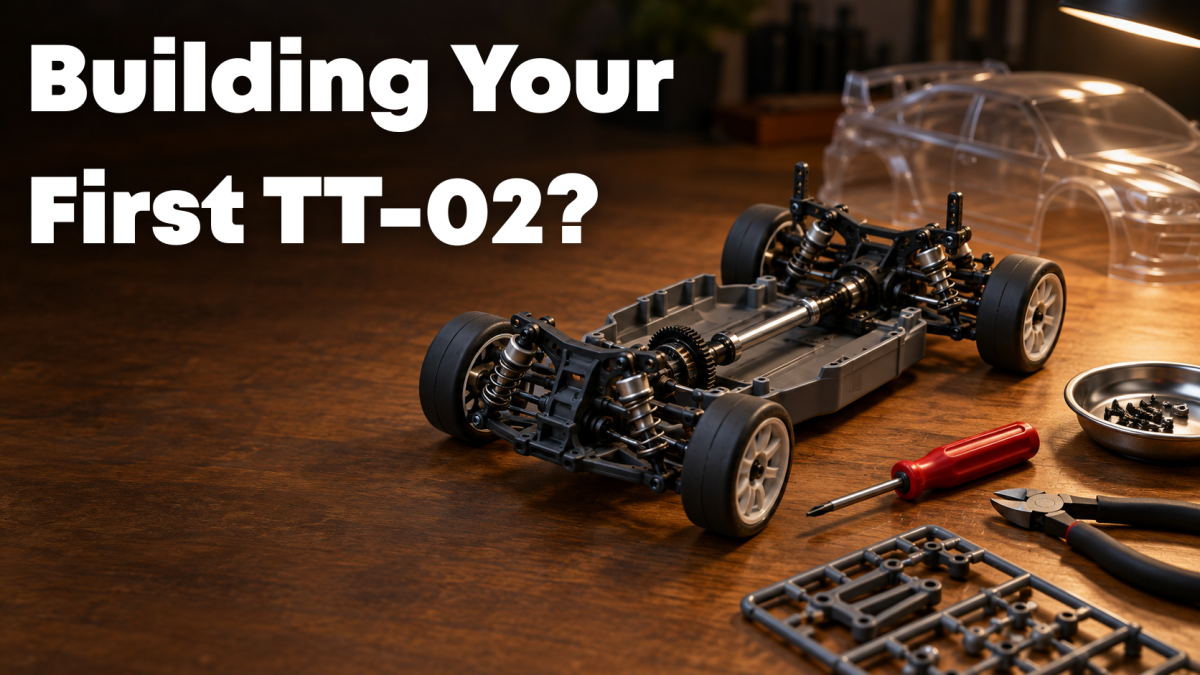
Tamiya TT-02 Build Guide: Tips for Your First Kit
Tamiya TT-02 Build Guide: Tips for Your First Kit
Before you start your Tamiya TT-02 build
You can build a TT-02 kit at the kitchen table in an evening or two with a few basic tools, a bit of patience and the instruction manual open in front of you. This Tamiya TT-02 build guide takes you through what to buy before you start, the steps that catch first-timers out, which electronics you'll need to finish the car and the first upgrades worth spending money on.
The TT-02 is Tamiya's 1/10 scale, shaft-driven, four-wheel-drive touring car chassis. It sits under a huge range of bodies, from rally icons to modern GT cars, and that's a big part of its appeal: the build is much the same whichever body you choose. We'll use the Tamiya Subaru Impreza Monte-Carlo '99 TT-02 kit as our example. It's £118.99 at the time of writing and makes a lovely first build. If you're new to Tamiya altogether, our Beginner's Guide to Tamiya RC explains how kits differ from ready-to-run cars.
Before you open any bags, read the whole manual once from start to finish. Check what comes in the box and what's listed as "required" on the side of it. Tamiya kits don't all include the same things. Some come with an electronic speed controller (ESC), others don't. None of them come with a radio, a battery or a charger.
Tools you'll need for a TT-02 kit
Tamiya puts a cross wrench and a few small tools in the box, but you'll have a far easier time with a proper set. Here's what we'd have on the bench:
- Good cross-head screwdrivers: a medium and a small one. Tamiya screws are JIS-standard, so a JIS screwdriver fits better than a typical Phillips and is much less likely to chew up screw heads.
- Side cutters to snip parts cleanly off the plastic sprues.
- A hobby knife to tidy up any small bits of plastic left on the parts.
- Long-nose pliers for holding nuts and pressing on ball connectors.
- Curved polycarbonate scissors to trim the body shell. Normal scissors make a mess of the curves round the wheel arches.
- A body reamer to make clean holes for the body posts and aerial.
- Threadlock (the medium-strength, removable type) for any metal screw going into metal.
- A parts tray or a few small pots, so screws from one bag don't get mixed up with the next.
A magnetic tray and a decent light are worth having too. The TT-02 has plenty of small screws, and the difference between some of them is just a few millimetres. The manual has life-size outlines of each screw, so hold yours against the page before fitting it.
The build, step by step: what to watch for
The manual is excellent, so we won't copy it here. What we can do is point out where people tend to go wrong. When TT-02s come back to the shop with problems, it's usually one of the things below.
Gearboxes and differentials
The front and rear gearboxes go together first. Use the grease that comes in the kit on the gears where the manual tells you to, and keep it off everything else. A thin coat is all you need. Too much just picks up dirt. Before you close each gearbox, turn the gears by hand. They should spin freely without any tight spots. If something binds, it's much easier to sort out now than once the chassis is built round it.
Don't overtighten self-tapping screws
Much of the TT-02 is held together with self-tapping screws that cut their own thread in the plastic. Tighten them until they're snug, then stop. If you keep going, the thread strips and the screw won't hold. A good habit: turn the screw backwards until you feel it "click" into the existing thread, then tighten it.
The pinion grub screw
The small grub screw that holds the pinion gear on the motor shaft needs a drop of threadlock. Line it up with the flat spot on the motor shaft. A loose pinion is one of the most common reasons a new car stops on its first run: the motor spins and the car goes nowhere. While you're there, set the gear mesh the way the manual shows. You want a tiny amount of play between pinion and spur, not gears jammed tight together.
Building the shocks
Take your time with the shock absorbers. Fill each one slowly with the oil supplied, move the piston gently up and down to work out the air bubbles, and let them settle before you fit the cap. Try to build all four the same. If one has more air in it than the others, the car will handle unevenly.
Centring the servo
Connect the servo to your receiver, switch the radio on and let the servo find its centre before you fit the servo horn or servo saver. If you skip this, the car may steer further one way than the other, and you might run out of trim to correct it.
Wheels and tyres
If your kit has tyres that need gluing to the wheels, use a proper tyre glue and leave it to cure fully. Check the manual for which way the tread faces, and check that the wheel nuts are tight and the wheels still turn freely.
Electronics: what you'll need to finish the car
A TT-02 kit is a rolling chassis plus a motor (and an ESC, depending on the kit). To get it running you'll need:
- A 2-channel radio system: transmitter and receiver. A basic pistol-grip set is all you need for a first car.
- A steering servo: a standard-size servo. A metal-geared one costs a bit more but stands up better to knocks.
- An ESC, if your kit doesn't include one. Make sure it suits the motor you're using.
- A battery: a 7.2V stick pack is the classic choice. The Voltz 5300mAh 7.2V NiMH stick pack with Tamiya connector (£28.79 at the time of writing) is straightforward for beginners and plugs straight into ESCs that use the Tamiya-type plug.
- A charger to suit your battery type.
NiMH packs are forgiving and easy to look after, so they're our usual recommendation for a first build. If you move to LiPo later, check your ESC has a LiPo low-voltage cut-off (or use a separate LiPo alarm), make sure the plugs match, and always charge with a LiPo-capable balance charger.
Painting the body: polycarbonate tips
The body shell is clear polycarbonate and you paint it on the inside. That gives you a glossy finish on the outside, and the paint is protected from scuffs. Use paint made for polycarbonate. Ordinary model paints will crack and flake off the first time the body flexes.
- Wash the shell first in warm soapy water, rinse it and let it dry fully. Mould release agent and fingerprints stop paint sticking.
- Mask the windows using the masks supplied with the kit (or masking tape) before you start.
- Light coats. Several thin mist coats beat one heavy coat, which can run or pool. Leave each coat to dry before the next.
- Dark colours first, light colours last. When you paint from the inside, the first colour you spray is the one you see.
- Back it up. A coat of Tamiya PS-5 Black polycarbonate spray over your colour stops light showing through, which matters most with metallics like PS-59 Dark Metallic Blue, a natural choice for an Impreza.
- Leave the protective film on the outside until you've finished painting and trimming, so overspray can't get onto the outer surface.
Want a matte, satin look instead of gloss? Tamiya PS-55 Flat Clear goes on the outside of the finished body and is a popular way to get a more scale, slightly weathered finish on rally cars.
The first TT-02 hop-ups worth buying
The TT-02 has a huge range of upgrades, and it's easy to spend more on parts than you paid for the kit. Our advice: run the car as it comes first, see what you'd like to improve, then upgrade a few parts at a time. These are the upgrades we'd look at first.
| Upgrade | What it does | Best for |
|---|---|---|
| Ball bearings | Replace plastic bushings with bearings for less friction and longer run times | Everyone, ideally fitted during the build |
| Fastrax TT-02 aluminium shocks | Oil-filled aluminium dampers for smoother, more consistent handling | Drivers wanting better handling on bumpy surfaces |
| TT-02 aluminium propeller shaft | Replaces the standard centre prop shaft with a stiffer aluminium one | Anyone fitting a faster motor |
| TT-02 high speed gear set (68T) | Changes the gearing for more top speed | Larger spaces and smooth tarmac |
| Tamiya Tuning Set TT-02 | A bundle of tuning parts in one box | Builders who'd like several upgrades at once |
Ball bearings first
If your kit uses plastic bushings, ball bearings are the upgrade we recommend first. They cut friction in the drivetrain, which helps run time and smoothness, and they're far easier to fit while you're building than to retrofit later. If you can, have them ready before you start.
Shocks and drivetrain
Next, the Fastrax aluminium shock set (£28.40 at the time of writing) is a good step up for handling. Once you're thinking about a faster motor, the aluminium propeller shaft (£6.50 at the time of writing) is a cheap way to toughen up the centre drive.
Gearing: one word of caution
A taller gear set like the 68T high speed set will raise top speed, but it also makes the motor work harder. After a few minutes of running, check the motor temperature. If it's too hot to keep a finger on comfortably, gear back down. And if you're not sure what a part includes, such as the Tuning Set, check the product page or ask us before you order.
After the build: first run and basic care
Before you drive, switch the transmitter on first and the car second (and off in reverse order). Check the steering turns equally both ways and the throttle trim is set so the car doesn't creep. Then run a pack on a smooth, open surface such as a car park or tennis court. Long grass and gravel aren't kind to a touring car.
After the first couple of runs, go back over the screws. Things settle as the car beds in. Check the pinion grub screw, the wheel nuts and the gear mesh. Our post on how to care for your RC car covers cleaning and maintenance habits that will keep your TT-02 running well for years.
Once you've built one, you'll understand why so many people end up with two or three. The same chassis sits under kits like the Tamiya Lancia Delta TT-02 and the Audi Quattro A2 Rally TT-02, so everything you learn, and many of the hop-ups you buy, carry straight over.
Get your TT-02 kit from Voltage Models
You'll find our full range of Tamiya TT-02 kits, polycarbonate paints, batteries and hop-ups on voltagemodels.com. If you'd rather talk it through, call us or come into the shop in Chichester. We're happy to help you choose a kit, sort out the electronics you'll need, or look over a build that isn't quite behaving. Our services page explains how we can help.
Frequently asked questions
How long does it take to build a Tamiya TT-02 kit?
Most first-time builders take somewhere between one long evening and a weekend, not counting painting the body. Take your time: reading each step carefully saves more time than rushing does.
What else do I need to buy with a TT-02 kit?
At minimum you'll need a 2-channel radio (transmitter and receiver), a steering servo, a battery and a charger. Some kits also need an ESC, so check the box or the product page before you order.
Is the TT-02 a good first kit for a beginner?
Yes. The clear Tamiya manual, simple four-wheel-drive layout and huge range of parts make it one of the most popular first builds. Older children can build one with an adult's help.
Do I paint a polycarbonate body on the inside or outside?
On the inside, using paint made for polycarbonate such as Tamiya's PS range. That way the paint is protected and the outside stays glossy. Only finishing coats like flat clear go on the outside.
What is the best first upgrade for a TT-02?
If your kit has plastic bushings, ball bearings are the most worthwhile first upgrade, ideally fitted during the build. After that, aluminium shocks and an aluminium propeller shaft are popular next steps.
Can I run a LiPo battery in a TT-02?
Many people do, but make sure your ESC has a LiPo low-voltage cut-off or use a separate LiPo alarm, check the connectors match, and charge it with a LiPo balance charger. A NiMH stick pack is the simpler choice for a first car.